Charcoal PortraitPart 2 of 3 |
|||||||||||||||||
Painterly Drawing LessonAt some point I plan to tone the face with a bold move that I have no idea will work or not. One thing I am certain of at this stage, is that my vine charcoal drawing will not survive the outcome! This is why I bring in the General’s peel and sketch (soft) compressed charcoal pencil. The string is a bit annoying, but you can trim it down. By pulling it upwards it cuts into the paper wrapping, and then you can literally peel the paper away from the core, leaving as much exposed charcoal as you care for. Sharpen the charcoal on sandpaper, and then wipe away the excess dust on a piece on a tissue or towel. Also remember to collect up your dust into a little jar, as it is always handy to use at a later date. 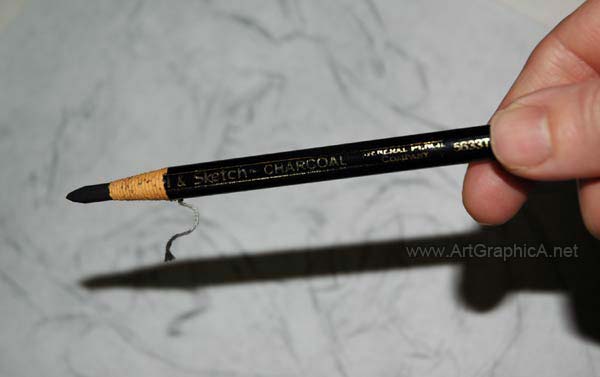 
If you have never tried an overhand grip, it will undoubtedly feel bizarre, but try to persist and gain experience in doing so as it is the most liberating way to sketch and draw, allowing free movement of the arm. You should aim to draw from the shoulder or elbow and not the wrist unless adapting to a different grip for rendering greater detail. At this stage, detail is our enemy, so do not get lost in it. I go over my vine charcoal in a number of critical areas, knowing that at least the pencil will survive some of the obliteration that is to follow. 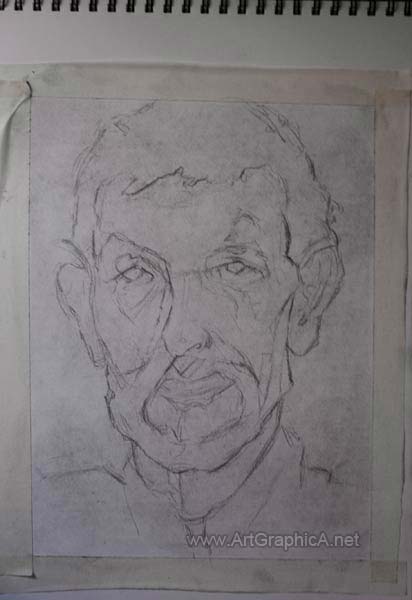 TONING THE FACE
I blew away any excess dust, and was left with the monstrosity below. I could have despaired and thrown the study away, but as I knew my drawing was generally going in the right direction, those barely visible lines would later reform, and a face would resurface. With an overall tone set, there is less to worry about in the shadows, and more focus goes into using the putty eraser to pull out and lighten the areas that are now too dark. It is referred to as a subtractive method of drawing, and is very well suited to charcoal. Rather than apply charcoal, you are removing it, and drawing with an eraser. 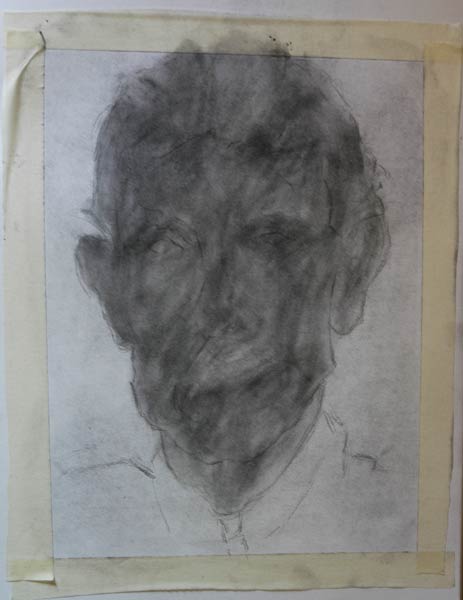
 Lesson continues... Click below to see part three. Click to View PART THREE of PAINTERLY DRAWING View PART ONE
|
|||||||||||||||||
Charcoal Lessons
Charcoal |
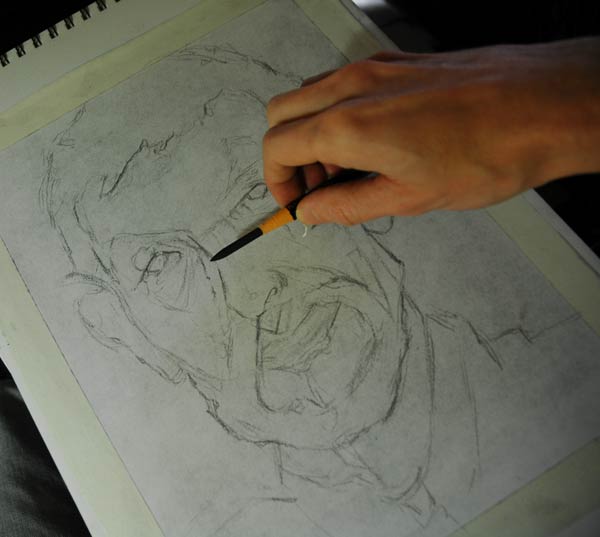
 Whilst experimenting with new things during this study, I made the bold decision to sprinkle my newly collected charcoal dust over the face, taking a cheap, soft haired paint brush to lightly push it around whilst avoiding the background. I could have toned the entire page much darker from the outset but wanted to keep the lights of the background as pure as possible without erasing.
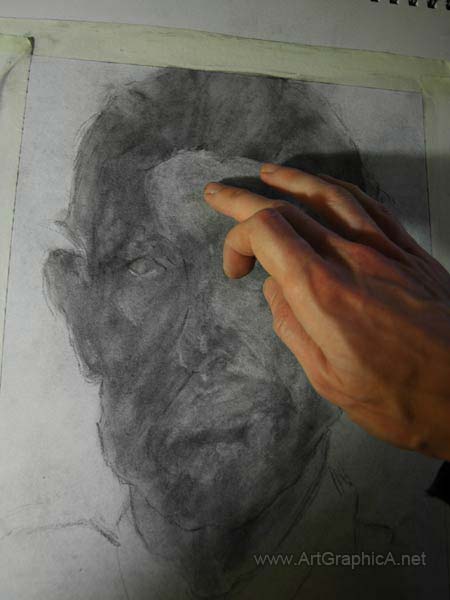
 If you are not already au fait with using charcoal, this is a difficult stage, but one where you will learn much about the medium. If you apply the putty eraser as it is, you can potentially pull it back to the white of the paper, which is not what we want. I wipe the putty on any excess charcoal dust that found its way onto the masking tape on the edges of the drawing. With a light covering of dust, I can then lightly pull it across my drawing, and it will remove less, and allow for more subtle tones. The blending stump can also be your friend and enemy in this process. In lighter tones, you can use it to apply subtle darker accents. If you use it in shadow areas, it will actually pull out the charcoal and will lighten areas. The level at which this works is down to pure experimentation and just getting on with it, finding out as you go. Again, you may wish to push the dust around with a brush. I find the coarse pastel brush softens edges, but removes very little of the darker tones, so it is great for using in areas of shadow. The rounder blending brush is good in the mid-tones, and if you need to lighten shadows, it will pull off dust. The finger also makes a great blending tool, and I like the intimacy it brings to your work. Of course you shouldn’t really use fingers due to oils in the skin, but I think if your hands are relatively clean, and you’re not working on a virgin white paper, then there is only the minimal of harm. Besides this is only a study. Fechin himself would paint with his fingers, and lick his palette knives to use the saliva in his strokes (he eventually suffered lead poisoning) Fortunately charcoal is non-toxic (as long as you don’t inhale the dust), and there is no need for licking, unless you have a strange fetish!


