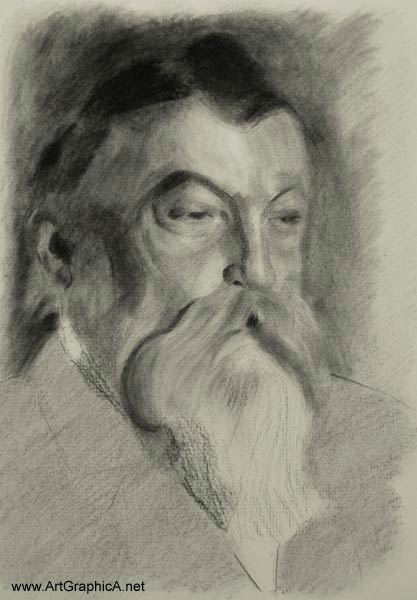
Portrait Drawing LessonPart 2 of 3 |
|||||||||||||||||
Drawing in a Painterly MannerTHREE VALUES When sketching without time for rendering much in the way of values, I like to use three values (black, white and a mid-tone) - it's particularly useful when thumbnail sketching. Later the study will venture into many values, but I still prefer to apply something close to the three value approach. Like the contours of a map, the shadow areas are marked off. If I was doing this in pencil, those lines would be very faint indeed, but as it's vine charcoal there is little fear there will be much to show at the end of it, they are merely guidelines or suggestions. 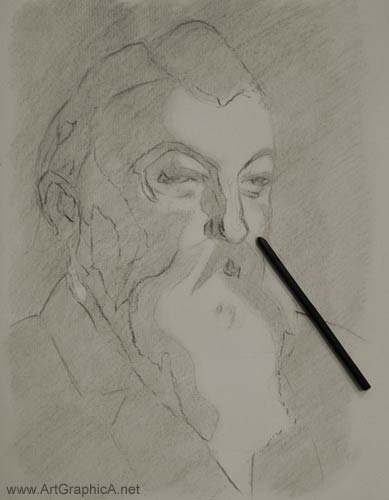 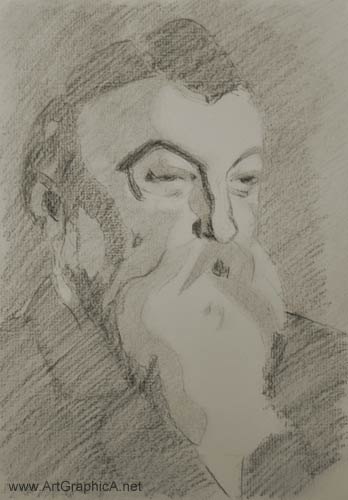 The rough lines are given the tissue treatment as before. At this stage of the study neither the drawing nor the values have to be adhered to. They are guidelines and adjustments can (and should) be made throughout a bit like a sculptor chiselling at a rock.
This is where the methodology ends and the fun begins. I could continue building up carefully controlled layer after layer, but I've enough information to delve in and start building up the values on the head. I opted to darken the hair quite early on. The hair at this stage isn't as dark as it will ultimately end up (it's best to keep the darkest darks in reserve until later on so that there is some leeway to play with things later), but without something dark in the drawing it would be quite a feat to get any of the midtones to the right value. Everything from here on will be relative to the whitest white (the off-white creamy colour in this instance) to the darkest value, so it is handy to establish these early on, no matter how strange it may look to begin with. DEVELOPING VALUE Finer details and touchups are pointless until nearing the end of the study. All I am interested in is building up values. This section of ArtGraphica's online charcoal book explains ways in which charcoal can be manipulated to adjust values. I have yet to experiment with stale bread (mine usually goes into a bread pudding!), but it may be comparable to the putty erasers of today and as such obsolete. 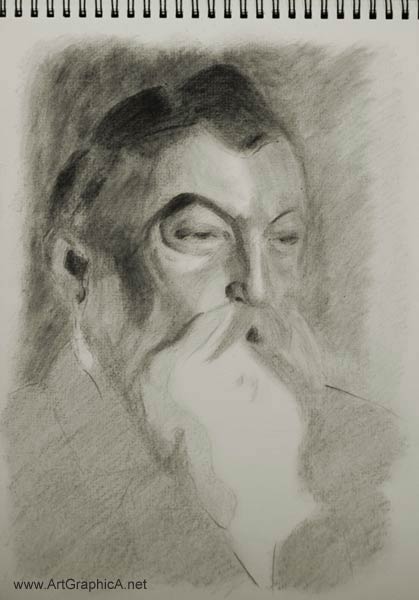 MOUSTACHE I'm not sure what Freud would say about my propensity for drawing men with beards. I unconsciously seem to do that a lot. As someone who sports a bit of facial hair, I suppose I like it in drawings because it creates a texture and interest, separate from the face. Like hair (the bit on the top of your head), you can create a fluidity of movement, whereas the skull, nose, ears, eyes are all relatively static by comparison. They're easy to draw (if you think in masses - i.e. not rendering every single little whisker!) and best of all, you only need a shadow for a mouth! I start to develop the moustache by using whatever particles remain on the sofft tool. It only takes about a minute to complete. Imagine if you wanted to labour over every hair, one by one (photorealists are truly gluttons for punishment!) 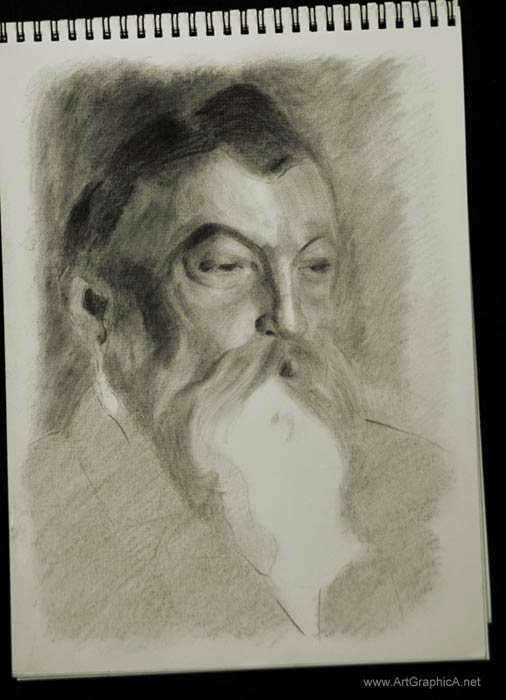 BEARD The beard is generally lighter in value, so I create the value by laying down (roughly) some vine charcoal. You can see the roughness of texture on the paper before applying the pastel brush to smoothen the values. The shadow around the edge of the moustache/beard is too pronounced. It would suffice if I was drawing a bust as it creates a bit of sculptural relief, but I make a mental note to soften and lighten it before continuing.
REFLECTED LIGHT You might also notice the reflected light in the recess of the cheek has darkened over the past few stages. Reflected light always looks much lighter than it really is, because it sits alongside dark values and plays optical illusions with the mind. Once you know your brain cannot be trusted, always check yourself as it can catch you off-guard. I've pushed the value of the hair as dark as I can go now. By loading up the sofft tool with a lot of pigment you can get some wonderful darks. Lesson continues... Click below to see part three. Click to View PART THREE of ANDERS ZORN PORTRAIT View PART ONE
|
|||||||||||||||||
Charcoal Lessons
Charcoal |

 CREATING VALUE