Watercolor Koi FishWatercolor Batik, Art Demonstration, Part 3 of 3 |
|||||||||||||||||
|
I went back to the plants and leaves wet in wet to intensify the color (added some other colors too). I let the greens bleed into the surrounding areas; this softens the plants, and also better integrates them with the entire picture. 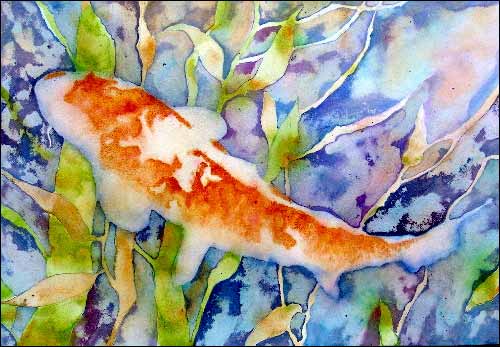
Put some quality darks in there, wet in wet. I've found the safest way to do this is to begin where there is already a dark - the new paint radiates from that area, and looks more natural. I also took a few swipes across the plants and leaves. 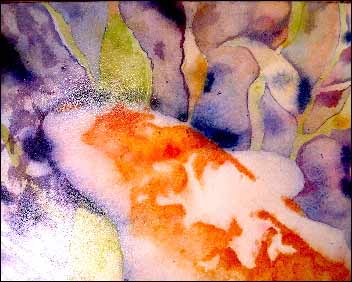
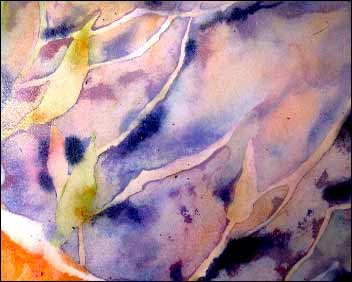
The darks organize everything by providing some focus, and the green blotches don't look so messy now. 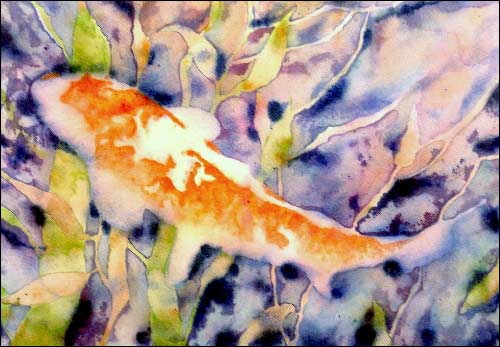
In this shot you can also see that the tail is receding more and more into the background. 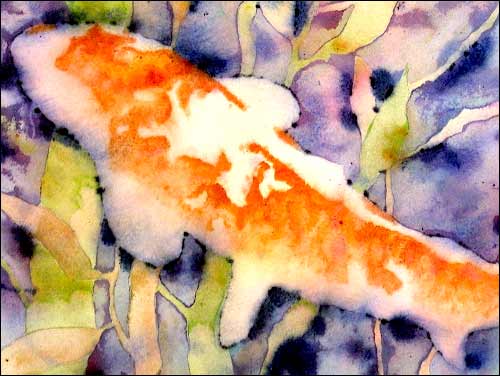
Next, I did more outlining of the fish, but in a different way: With a small brush, I did what I call the "sewing machine" stroke. Using nearly pure pigment, I held the brush vertically, and went around the fish, alternating lines with a quick stab downward, on damp paper. I was careful not to do the whole outline - just enough to create some defining contrast in a few places. On damp paper, some of the paint of melts into the subject and background. Also did this in a few other places around the painting. I like the look, but it's easy to overdo. Probably better to do not quite enough, than too much. 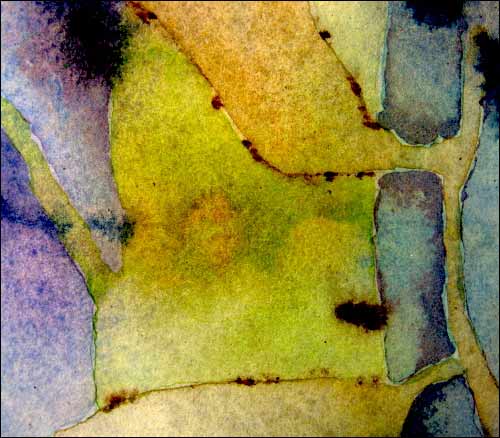
I wanted the leaves and stems to stand out more where they cross each other. With a razor blade, I outlined them slightly at those intersections. Trying not to make an obvious outline, I interspersed fine lines, small dots of paint, and spaces, on damp paper (as in the previous step). The razor blade is great for fine lines - the edge holds enough paint to do a few inches. The next procedure is one that many watercolorists seem reluctant or scared to do.* 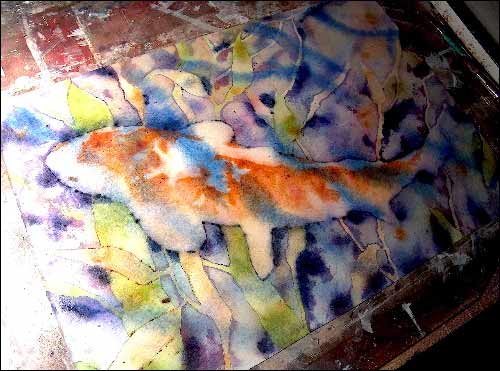
With a mix of phthalo and ultramarine blue, I made some big ugly stripes across the painting. Why? Because it's important to remember that what's behind the subject is also in front of the subject. In this case, there is water between the fish and the viewer, so I put some there. This step gets rid of the dreaded pasted-on effect. Not a very mysterious process, and it really puts the fish in its environment. Then some tilting and the spray bottle - move it around, disperse, etc. With a towel, I blotted some areas, particularly a few important whites. * I performed the same step in these other demonstrations: Painting Large in Watercolor: Faded Glory Watercolor Life-Sized - Tarantella The painting now has an undulating, alive look. The blue stripes dissipated, tinting the other colors, and created the illusion of underwater shadows. Some of the bright color is muted, some of it pops out in other places. 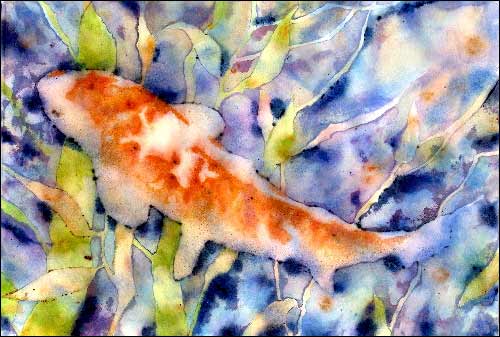
The process that achieved this is scary the first few times you do it, and it is certainly possible to ruin a painting if you're not careful. However, as long as the paper is wet, most problems can be sprayed away before anything sets. I did some fine spatter with a toothbrush to soften and model the underside of the fish. 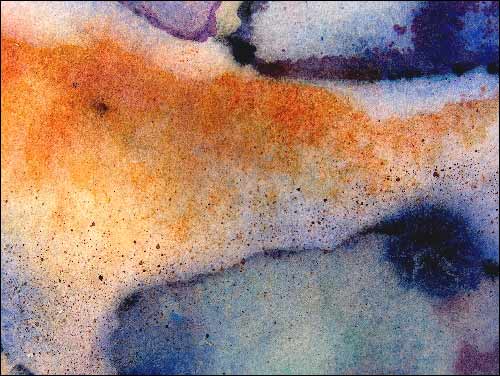
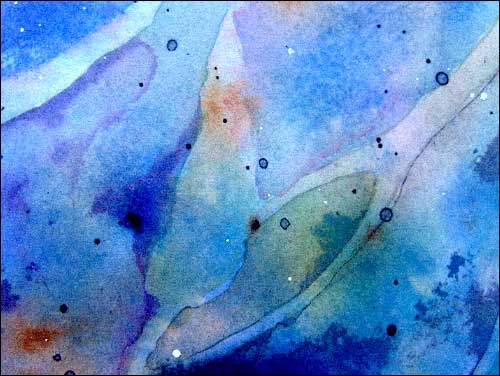
Then I did some light spatter with dark paint and gesso. I demonstrated a couple of tricks I like to do with spatter in the aforementioned articles. This time I did something different: When the spatter was almost dry, I hit it with the (yes!) spray bottle, which washes out the center, and leaves a delicate little ring. I like the look, don't know why exactly - bubbles maybe? I waited a day to see if there was anything else I wanted to do. It seemed to ask for a couple of details, and I warmed up the background a tad. Thank you for following along, and I hope this demonstration gives a few people some new ideas! 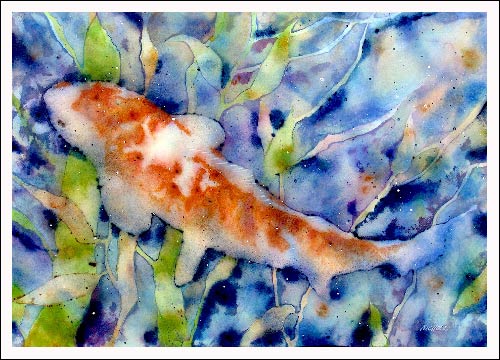
Koi Joy Visit Nicholas Simmons' website / Blog / Facebook
|
|||||||||||||||||
Watercolor Lessons
|


